Here is something that would have sounded absurd ten years ago: the phone in your pocket can photograph the Moon's craters, Jupiter's moons, the Milky Way's galactic core, and even faint nebulae. I am not talking about blurry white dots on a black screen. I mean real, recognizable, share-worthy images of the cosmos.
Modern smartphone cameras -- with their large sensors, computational photography pipelines, and dedicated night modes -- have crossed a threshold. You do not need a DSLR to start your astrophotography journey. You just need to know how to push your phone to its limits. Let me show you how.
Astrophotography Settings by Target (Smartphone, 2026)
| Target | ISO | Aperture | Shutter | Exposure Strategy | Equipment Needs | Notes |
|---|---|---|---|---|---|---|
| Full / Crescent Moon | 50-100 | f/1.7-2.2 | 1/200-1/500s | Single shot, manual focus to ∞ | None — handheld OK | Tap-and-hold to lock exposure; phones overexpose Moon by default |
| Lunar craters (afocal) | 100-200 | f/2.0 | 1/125s | Phone clamped to telescope eyepiece | Smartphone telescope adapter ($20-30) | Best at first/last quarter for shadow detail |
| Bright planets (Jupiter/Saturn/Venus) | 100-400 | f/1.7-2.0 | 1/30-1/100s | Afocal through eyepiece | Telescope + adapter | Burst mode + stacking app (PIPP/AutoStakkert) |
| Wide-field stars / constellations | 800-1600 | f/1.7-2.0 | 8-15s | Tripod, 2s timer | Phone tripod ($15-30) | Use 500-rule (500 ÷ focal length = max sec before trails) |
| Milky Way core (Bortle ≤ 4) | 1600-3200 | f/1.7-2.0 | 15-25s | Tripod + RAW + manual | Tripod + Bortle ≤ 4 sky | iPhone Night Mode auto-stacks; Pixel Astrophotography mode is best in class |
| Aurora (KP ≥ 5) | 800-3200 | f/1.7-2.0 | 5-15s | Single shot, vary by intensity | Tripod | Lower ISO + shorter shutter when bright; cycle settings every minute |
| Star trails | 100-200 | f/2.8-4 | Multiple 30s | Series of 30-60 shots, blend in StarStaX | Tripod + intervalometer app | Total session 30-90 min |
| ISS pass / satellite trails | 800 | f/2.0 | 10-15s | Time it with Heavens-Above app | Tripod | One bright streak per pass |
| Meteor shower | 1600 | f/2.0 | 15-25s | Burst all night, blend best frames | Tripod + spare battery | Aim 60° from radiant |
| Solar (with ISO 12312-2 filter only!) | 50 | f/2.0 | 1/250s | Solar filter REQUIRED | Phone solar filter | Same filter on phone, NEVER look at unfiltered Sun |
Ranges cover iPhone 13+, Pixel 6+, and Galaxy S22+. Use Pro/Manual/Night mode (Camera app's expert mode). Apps: NightCap (iOS), Pixel Astrophotography (auto), DeepSkyCamera (Android), ProCamera (iOS).
Why Smartphones Actually Work for Astrophotography

Three technological shifts have made this possible:
- Larger sensors with bigger pixels. Flagship phones now sport sensors with 1.2 to 2.0 micron pixels that gather meaningful amounts of light during long exposures.
- Computational stacking. Night mode on most phones takes multiple frames, aligns them, and merges them to reduce noise and boost detail. This is essentially the same technique astrophotographers have used with dedicated software for decades -- your phone just does it automatically.
- Manual camera controls. Apps like ProCam, Camera FV-5, and even built-in pro modes let you set ISO, shutter speed, and focus manually, giving you the control you need for night sky work.
The Essentials: What You Need
A Tripod and Phone Mount
This is non-negotiable. Any exposure longer than about half a second will be blurred by hand shake. You do not need an expensive tripod -- a $20 aluminum travel tripod with a phone clamp works fine. Some phone clamps also include a cold shoe mount for attaching a small Bluetooth remote shutter, which eliminates the vibration from tapping your screen.
A Manual Camera App
Your phone's default camera app may have a night mode, and that is a great starting point. But for serious control, you want an app that lets you:
- Set shutter speed (up to 30 seconds or more)
- Lock ISO manually
- Lock focus at infinity
- Shoot in RAW/DNG format
For iPhone: ProCam, NightCap Camera, or the built-in Night mode (which is surprisingly capable) For Android: Open Camera (free), ProCam X, or your phone's built-in Pro mode (Samsung, Google Pixel, and OnePlus all have excellent ones)
A Stacking App (For Advanced Work)
For deep-sky targets, single exposures from a phone are limited. But if you take dozens or hundreds of short exposures and stack them, noise drops dramatically and faint detail emerges. DeepSkyCamera (Android) is specifically designed for this -- it automates the capture of multiple frames and can even control basic tracking mounts. Sequator (desktop, free) and Deep Sky Stacker (desktop, free) can align and stack frames you transfer from your phone.
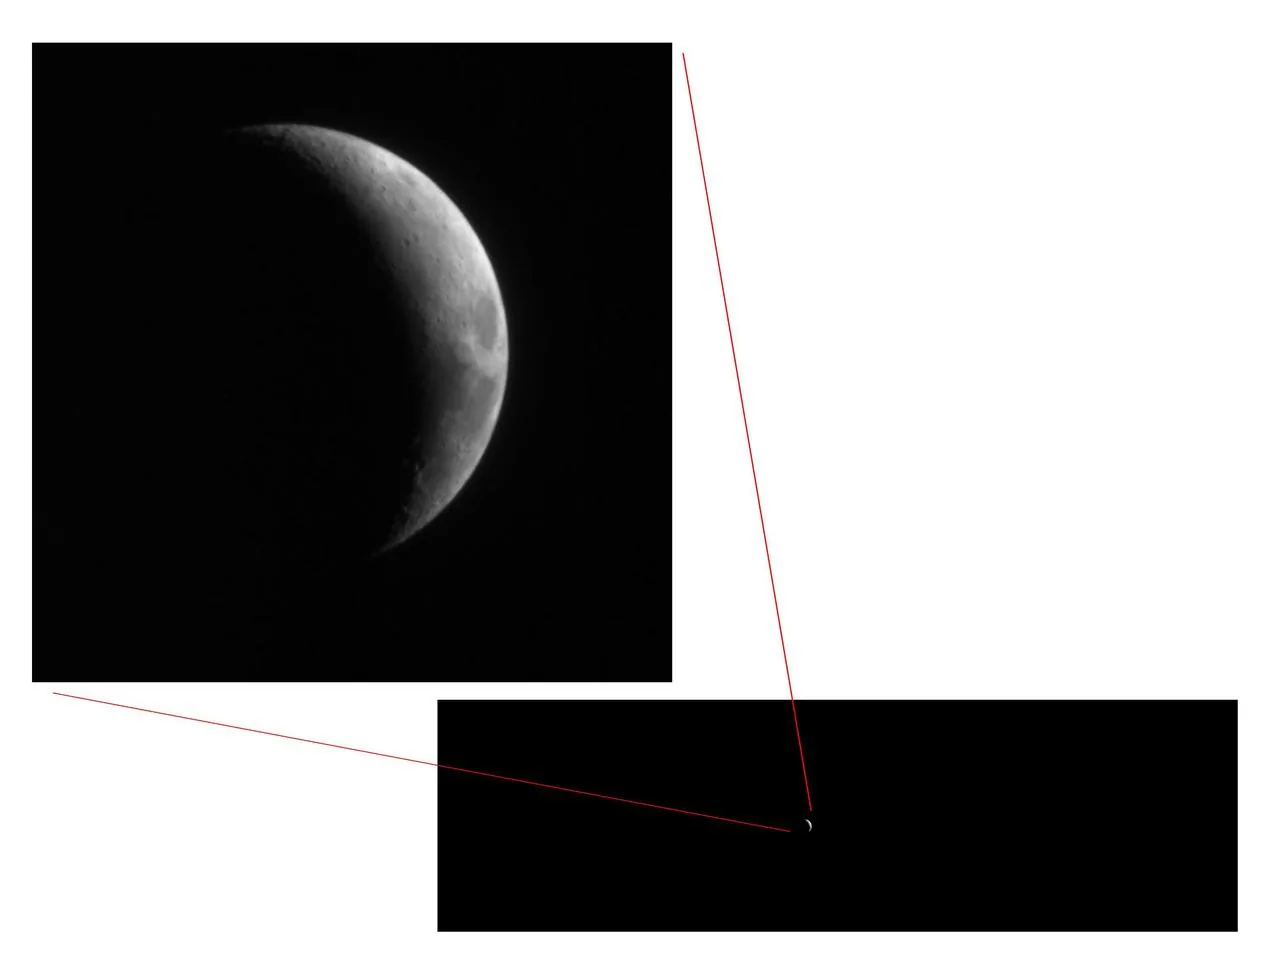
Capturing the Moon
The Moon is the easiest and most rewarding target for smartphone astrophotography. It is bright, it is big, and it has incredible surface detail.
Basic Moon Shot
- Mount your phone on a tripod.
- Zoom in as far as your optical zoom allows (avoid digital zoom if possible -- it just crops).
- Tap and hold on the Moon to lock focus and exposure.
- If the Moon appears as a blown-out white disk, slide the exposure compensation down until you see surface detail.
- Shoot.
Modern phones with periscope telephoto lenses (Samsung Galaxy S24 Ultra, iPhone 16 Pro Max) can capture surprisingly detailed Moon images at 5x or more optical zoom. You will see the major maria (dark "seas"), bright ray craters like Tycho, and the terminator line where light meets shadow, which is where crater detail is most dramatic.
Moon Through a Telescope
This is where things get spectacular. A smartphone adapter (like the Celestron NexYZ or Gosky universal adapter) clamps your phone's camera over a telescope eyepiece. The telescope provides the magnification; your phone does the imaging.
With even a modest 6-inch telescope and a 10mm eyepiece, you can capture images of the Moon that show individual craters, mountain ranges, and rilles. Use a low ISO, fast shutter speed (1/100s to 1/500s), and take a video rather than a photo -- then use a free app like PIPP or RegiStax on your computer to stack the best frames from the video into a sharp final image.
Photographing the Planets
Jupiter and Saturn are the star attractions here.
Jupiter: Through a telescope with a phone adapter, you can capture Jupiter's cloud bands and its four Galilean moons (Io, Europa, Ganymede, Callisto) as distinct points of light. Again, shoot video and stack the best frames.
Saturn: The rings are visible through any telescope at 50x magnification or more. Getting a clean phone image of Saturn's rings takes patience, but when it works, the result is magical.
Venus: Bright enough to photograph without a telescope. Through a scope, you can capture its crescent phase as it orbits closer to the Sun than Earth.
For planetary work, a Barlow lens (which doubles or triples your telescope's magnification) paired with your phone adapter can yield impressive results.
Shooting the Milky Way
Photographing the Milky Way with a phone was nearly impossible five years ago. Now it is genuinely achievable -- with caveats.
What You Need
- Dark skies. This is the biggest variable. Get at least 30 minutes from any major city. A Bortle 4 or darker site is ideal. You can check light pollution maps at lightpollutionmap.info.
- A clear night with no Moon. The Milky Way's galactic core is visible in the Northern Hemisphere from roughly April through September, low in the southern sky.
- Your phone on a tripod.
Camera Settings
Switch to manual/pro mode:
- ISO: 1600-3200 (higher on newer phones with good noise handling)
- Shutter speed: 15-30 seconds (the longer the better, but stars will start to trail)
- Focus: Manually set to infinity. On most phones, you can tap a bright star or distant light to focus, then lock it.
- Format: RAW/DNG if your app supports it
Point your camera at the Milky Way, start the exposure, and do not breathe on the tripod.
What to Expect
Your first Milky Way phone shot will probably show a faint, hazy band across the sky with some visible structure. It will not look like those stunning DSLR images you see online -- but it will be unmistakably the Milky Way, and you captured it with the device you use to check your email. That is genuinely remarkable.
Newer flagship phones (Google Pixel 9 Pro, Samsung Galaxy S25 Ultra, iPhone 16 Pro) produce noticeably better results thanks to larger sensors and more sophisticated night-mode processing. The Pixel's Astrophotography mode is particularly impressive -- it takes a four-minute automated exposure sequence and stacks the results.
Processing Your Images
RAW files from your phone contain far more data than the compressed JPEG. Processing them can reveal hidden detail.
Mobile Processing
- Snapseed (free): Great for basic adjustments -- pull up shadows, boost contrast, reduce noise.
- Lightroom Mobile (free with limited features): Full RAW processing with curves, HSL adjustments, and noise reduction.
- Adobe Photoshop Camera (free): AI-powered enhancements that can work surprisingly well on night sky images.
Desktop Processing
Transfer your RAW files to a computer and use:
- Adobe Lightroom: The gold standard for photo processing. Boost clarity and dehaze, pull down highlights, lift shadows, and apply noise reduction.
- Sequator (free, Windows): Specifically designed for stacking night sky images. Feed it multiple exposures and it will align the stars and reduce noise dramatically.
- GIMP (free, cross-platform): A powerful alternative to Photoshop for manual adjustments.
Processing Tips
- Shoot multiple frames of the same scene and stack them to reduce noise.
- White balance is critical -- the night sky should look natural, not orange from light pollution. Adjust color temperature in post.
- Be careful with noise reduction -- too much turns stars into smudges.
- A gentle S-curve in the tone curve (darken shadows, brighten highlights) adds drama to Milky Way shots.
Pushing the Limits: What is Actually Achievable?
Let me set honest expectations:
- The Moon: Stunning results, especially through a telescope. Rivals entry-level DSLR images.
- Planets through a telescope: Recognizable disk, rings on Saturn, bands on Jupiter. Video-stacking dramatically improves quality.
- Milky Way: A beautiful, recognizable band. Flagship phones produce results that would have required a DSLR five years ago.
- Star trails: Set your phone to take continuous 30-second exposures over 30-60 minutes, then stack them. Gorgeous circular star trails are very achievable.
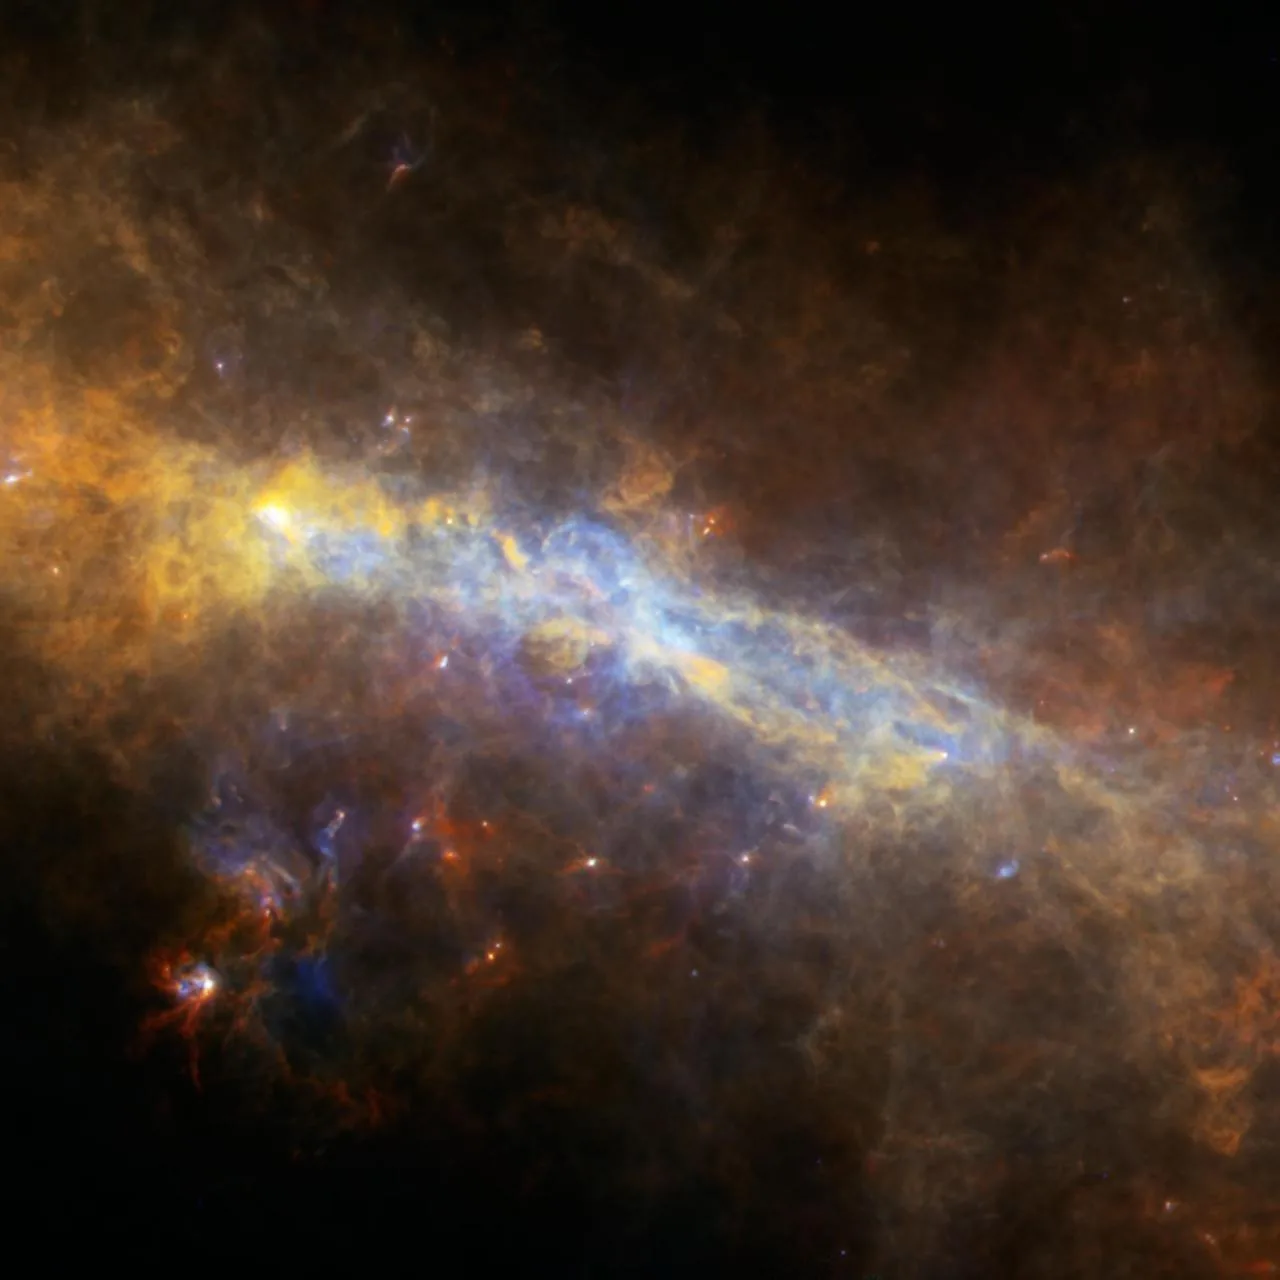
- Deep-sky objects (nebulae, galaxies): Possible through a telescope with stacking, but this is where dedicated cameras still hold a massive advantage.
Start Tonight
The beauty of smartphone astrophotography is that the barrier to entry is almost zero. You already own the camera. A $20 tripod and a free app are all that stand between you and your first image of the cosmos.
Go outside on the next clear night, point your phone at the Moon, and take a shot. Then try the Milky Way. Then strap your phone to a telescope and photograph Saturn's rings. Each step will amaze you a little more.
The universe has never been more accessible. Your pocket telescope is charged and ready.